Mfr Part # PA1180
PLIERS NEEDLE NOSE
Tempo Communications
Today, we’re taking a look inside two new LED red light therapy masks, the CurrentBody Series 2 and the Shark Cryoglow.

Tools used in this teardown:
First up is the CurrentBody Series 2 mask. It’s flexible like the previous version, but also more contoured to the shape of the face, especially under the chin.

The series 2 also has a few more IR LEDs in another wavelength, in addition to the red and near infrared LEDs present in both versions.

I quickly learned that what worked in my teardown of the series 1 mask was not going to work for the series 2. The outer layer, flex PCB, and inner layer are all fused together into one solid piece. So, try as I might to separate them, I didn’t make very much progress at all.
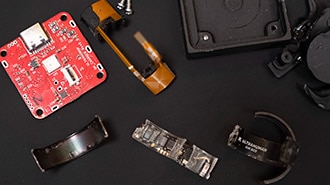
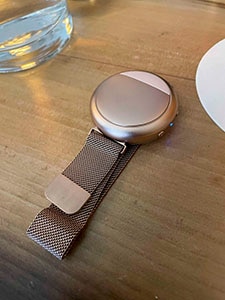
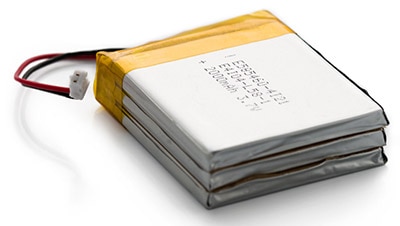
So, I switched my focus to the controller, where I found a battery and a circuit board.
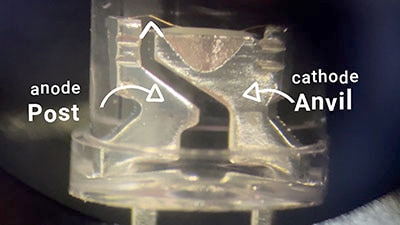
I took a closer look at the electronics inside with my channel’s favorite electrical engineer, David Cranor.

Here are all the components we could identify on the CurrentBody Series 2:
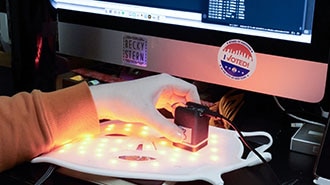
You can explore the CT scan of this device on Lumafield:
Next, let’s take apart the Shark Cryoglow. Its controller has a color screen, and in addition to its LEDs, also has undereye cooling pads, created using Peltier coolers. If you remember when I took apart the Embr Wave, that heating and cooling wearable, you’ll know it’s pretty unusual to see these in battery-powered devices because they use a lot of power and also generate heat. I’ll admit it does feel really nice, though!

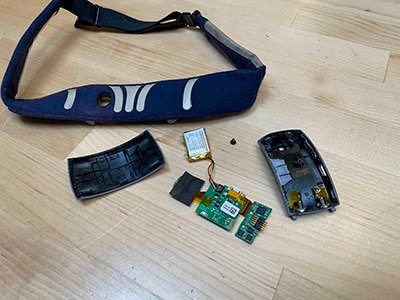
The front cover of the shark is held on by five screws distributed around the edge. The bottom center one, at the chin, is covered by a soft rubber stopper, and the others are covered by hard plastic caps that were significantly harder to remove. I used a combination of nippers to dig in and an awl to pry out.

Once I removed the front shell, the inner wiring of the mask became visible. There’s a circuit board in the forehead area, and everything else plugs into it. I systematically removed the components in the order they were most apparent to me: the front LED fixture, the cheek fans, the circuit board, and finally, the flex PCB with all the LEDs on it. Then I removed one of the undereye coolers and the pads from the inside of the mask. There’s a capacitive touch sensor in the forehead pad.

No wonder this thing is so heavy; it’s got more than a dozen metal screws loaded up inside.
The controller has two PCBs, two batteries, and a small screen.

Here are the components we could identify on the Shark Cryglow:
You can explore the CT scans of this device on Lumafield:
I did manage to put the Shark back together, but turns out the screen was damaged at some point, because only a bit of it was working. This was enough for me to activate the therapy modes, though, to prove that the mask does indeed still work after I put it together. Maybe I can find a replacement for this screen.