Mfr Part # ABX00173
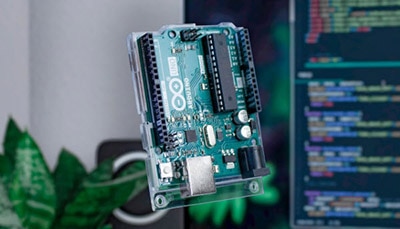
ARDUINO UNO Q 4GB RAM 32GB EMMC
Arduino
So, you’ve got your Arduino UNO Q, and you’re developing your next groundbreaking project, but suddenly, you are locked out of your board! Did you accidentally corrupt the operating system, or simply forget the password you assigned to your account in the Linux operating system? Well, don’t fret, because the process of reflashing your board is actually quite simple! Follow along, and I’ll walk you through the process, so you can get back to work on your Arduino project.

First, you will need to download the Arduino Flasher Tool from Arduino’s website here: https://www.arduino.cc/en/software. Download the correct version for the computer you are using; in my case, I need the Windows version.

Once downloaded, navigate to the folder where you saved the zip file and extract the arduino-flasher-cli.exe file to a convenient location on your PC. I saved the file in C:\Arduino\

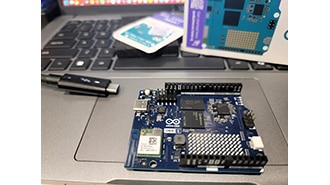
Now, grab your UNO Q board and a jumper wire or shunt and, while there is no power to the board, find the JCTL header and short the two pins furthest from the USB connector as shown below.

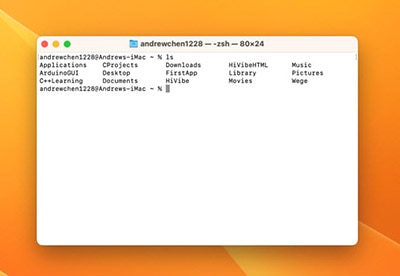
With the pins shorted together, use a USB cable to connect the board to your PC. Then, on your computer, open Windows PowerShell and within the terminal, navigate to the folder that you extracted the Arduino flasher tool to.

Type in the following command to flash your board with the latest Linux image:
.\arduino-flasher-cli.exe flash latest
You will then be asked if you want to download the latest Debian image.

Type “y” and press enter to begin the download…

When the download is complete, it will be extracted automatically, then you will be asked to confirm if you want to flash the image to your board. Note that it will erase the contents of your board, so you will be starting over with a factory-fresh image. Type “y” and hit enter to continue. If this is your first time running the tool, it may ask to install a driver – you should allow the installation to continue.

The flasher tool will then begin flashing the disk image to your UNO Q board. Please be patient, as this does take some time, but you can watch the progress in the terminal.

Once complete, you will see a message stating that partition 0 is now bootable, and that’s all there is to reflashing your UNO Q. Unplug your board, remove the jumper, and when you boot your board again, it will be just as you first received it and walk you through setting a new password, connecting to Wi-Fi, and assigning a name to the board.