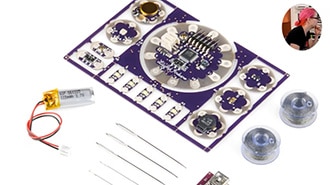
Mfr Part # 3333
CIRCUIT PLAYGROUND EXPRESS
Adafruit Industries LLC
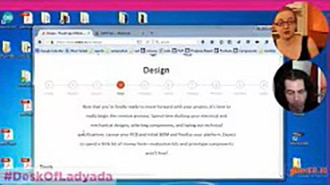
Before you spend a lot of time designing your project, it is essential that you give it careful evaluation. First, weigh the pros and cons of your project. Begin thinking about possible team members, test your technology, and establish a realistic timeline. Everything check out? You’re ready to design!
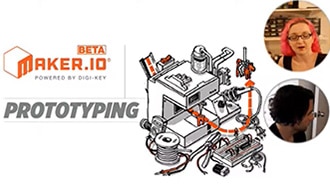
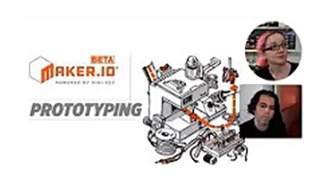
To keep costs low, we first go to Digi-Key and look for the lowest cost functional sensors we can use. In this 3rd video, Ladyada will show the breakout boards she designed as stand-alone sensor to evaluate before putting them on one board. Testing out each sensor on a breadboard with a 32u4 breakout lets us make sure that we choose the right pins for each function. We also need to make sure we’ll be able to fit all the code we need into the chip and evaluate two different bootloaders – a mass storage and a CDC type bootloader.